Your Questions Answered....
Since posting this tutorial, I have received a few questions that I will answer here!
"You say that you burnish the paper before you start in order to have a smooth surface to work on, but isn't it easier to buy smoother paper? Maybe a hot pressed?"
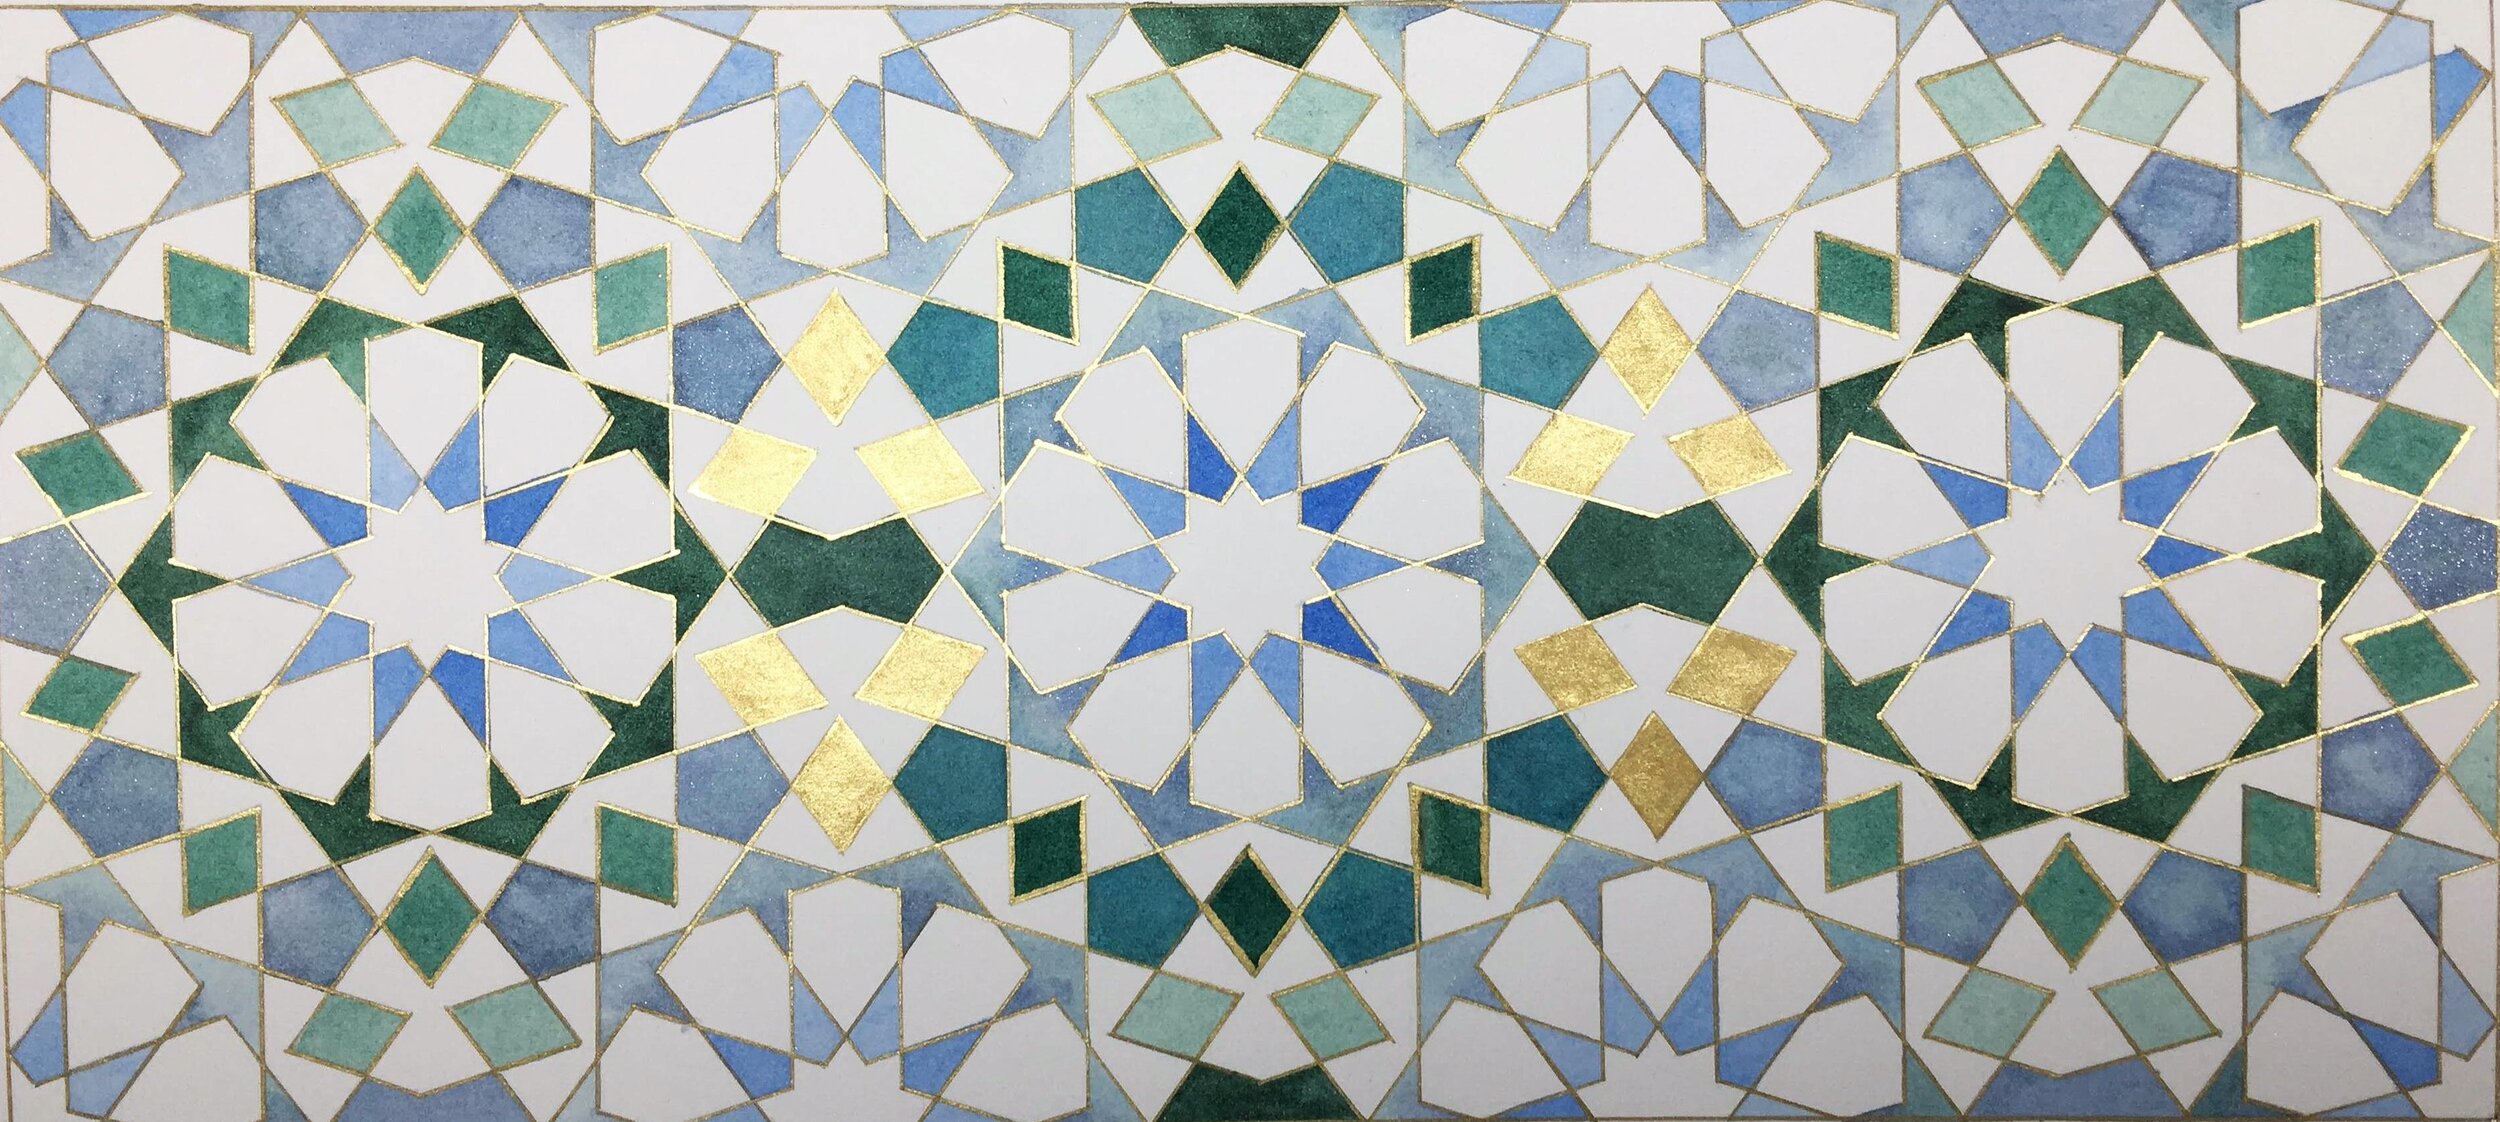
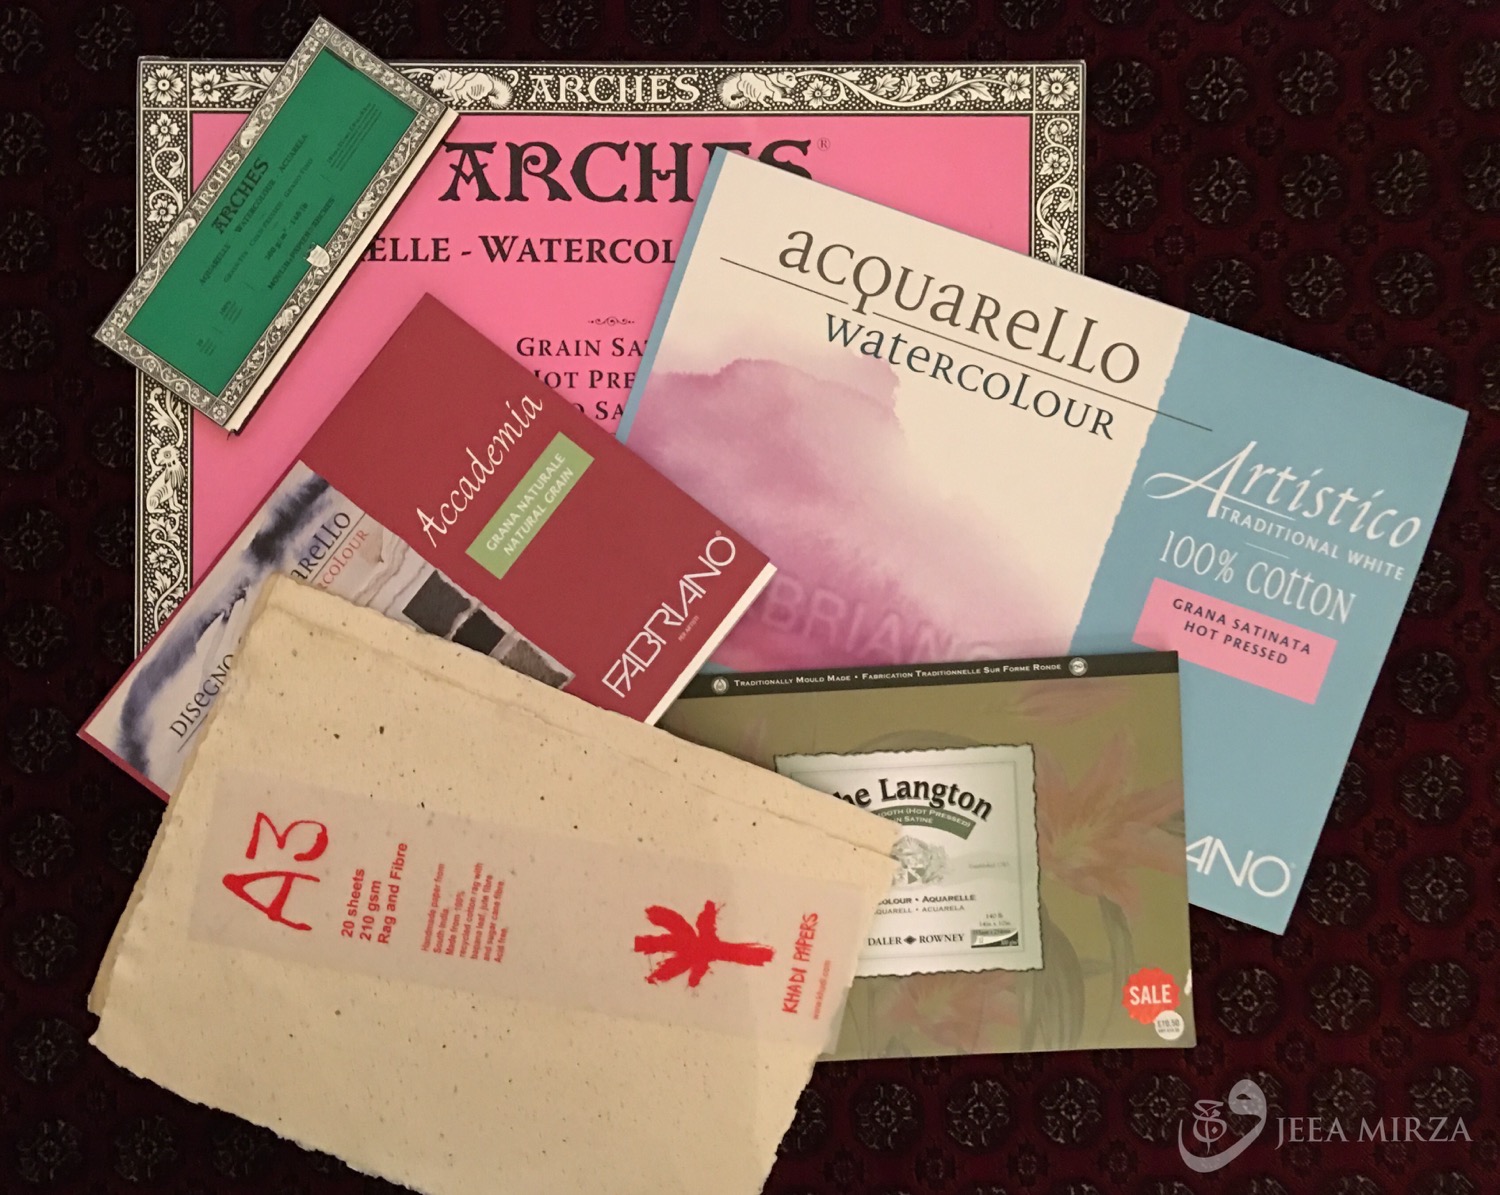
Great question - for manuscript illumination I always start with a "hot press" paper but this can be made much smoother by burnishing. I guess it comes down to personal choice and I suggest you experiment and try both and figure out what you prefer! My usual hot press paper for illumination is Fabriano Artistico 300gsm or heavier, and it can be used as is, but I find if I tea stain it then the surface can become a little dry and I like to flatten down the fibres by sizing and burnishing it. It really makes a huge difference, and well the smoother the surface the easier it is to paint smooth lines and the better the shine on the gold!
"Is it the same to use tracing paper when burnishing the gold instead of the kind of paper you are using in this video (do you call it glassing paper???)
Firstly the paper I mentioned is called "glassine" paper I haven't ever used tracing paper to burnish through but it may be a little hard. Glassine is a smooth glossy paper (choose acid free) which is air, grease and water resistant. It is most often used as interleaving paper in books / albums as it protects the fine surfaces / illustrations / photos from contact with facing pages. It was what was recommended to me when I first used powdered gold, although if you can't get hold of it acid free tissue paper can also be used.
"I just painted with some shop bought shell gold too, but it's not burnishing to that gorgeous sheen I see in your pictures!"
I feel your pain!! In my own experience shop bought pans of shell gold usually contain too much gum arabic which can definitely effect the shine you can achieve. (Gum Arabic is the binder used to turn the gold powder into paint and is what makes the gold adhere to the paper.)
When I buy a pan now, the first thing I do is to drop the whole pan into a small cup (I use a deep egg cup) and cover with clean mineral water. I gently break up the pan until it all turns into a liquid gold, and may add a touch more water if needed and give it a good stir. I then leave it alone over night and allow the gold to settle to the bottom of the cup. A lot of the excess gum Arabic will dissolve into the water and can be poured off once the gold has settled. I let the gold dry out and once dried it should be ready to use as normal by adding a few drops of water as I show in the video.